Contents:
- Quick Answer: How to Embroider a Botanical Pattern (Step-by-Step)
- Why Botanical Embroidery? (And What Flowers to Stitch)
- Essential Materials for Botanical Embroidery
- Basic Supplies Checklist
- Optional Upgrades
- Sourcing Patterns: Free, Paid, and DIY
- Step-by-Step: Stitching a Simple Wildflower Bouquet
- Choosing and Transferring Your Pattern
- Threading Your Needle
- Stitch Types
- Layering Colors and Textures
- Finishing Touches
- Troubleshooting and Pro Tips
- Common Issues
- Expert Fixes
- Displaying and Gifting Your Botanical Embroidery
- Creative Ideas
- Care Tips
- Botanical Embroidery Patterns Step-by-Step: FAQ
- How do I choose the best fabric for botanical embroidery?
- What stitches should beginners learn first for flower patterns?
- Can I make my own botanical embroidery pattern?
- Where can I find ready-made botanical embroidery kits in the US?
- How long does a typical small floral embroidery project take?
Botanical Embroidery Patterns Step-by-Step
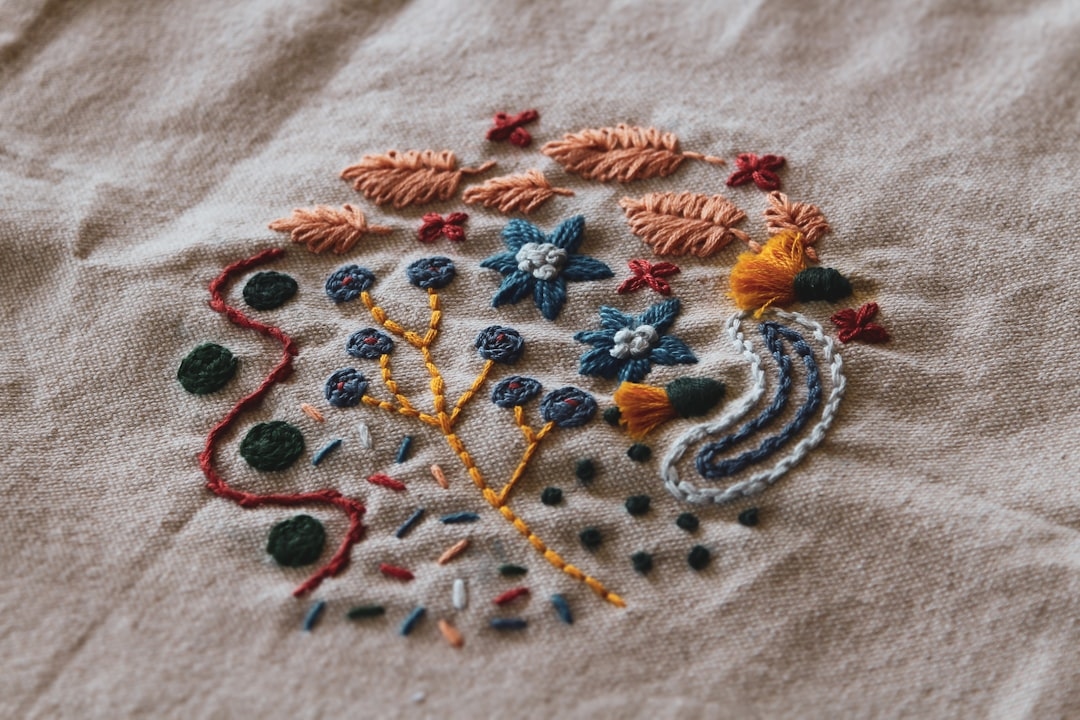
Did you know that embroidery with botanical motifs peaked in popularity during the Arts and Crafts movement of the early 1900s–and it’s back in force in 2026, with Google searches for “botanical embroidery patterns step-by-step” up over 350% since 2023? Botanical embroidery is blooming from Instagram feeds to high-end craft boutiques in Portland, Austin, and everywhere in between. Whether you’re curious about embroidering your first daisy or stitching a whole garden onto a denim jacket, there’s never been a better time to try your hand at this time-honored, fashion-forward craft.
Quick Answer: How to Embroider a Botanical Pattern (Step-by-Step)
To embroider a botanical pattern, follow these steps:
- Select your pattern: Download a floral or leaf design or sketch your own.
- Prepare your fabric: Choose cotton, linen, or a blend. Stretch taut in a 6-8 inch embroidery hoop.
- Transfer the pattern: Use water-soluble pens or carbon paper.
- Pick threads and needle: Use DMC or Cosmo embroidery floss; a #5-#7 embroidery needle works for most florals.
- Start stitching: Use basic stitches–backstitch for stems, satin stitch for petals, French knots for flower centers.
- Finish and wash: Tie off, rinse out any transfer lines with cold water, and let dry flat.
This tried-and-true process is beginner-friendly, and with just a handful of materials, you can create wall art, personalize clothing, or make gifts that last for years.
Why Botanical Embroidery? (And What Flowers to Stitch)
America’s renewed obsession with houseplants is feeding a love for botanical crafts. Last year, Etsy reported that searches for “floral embroidery kit” quadrupled in the US, and more than 60% of crafters surveyed by the National NeedleArts Association say they’re drawn to nature-inspired patterns.
Most popular motifs by US embroidery artists:
- Wildflowers (coreopsis, black-eyed susans)
- Peonies
- Lavender sprigs
- Fern fronds
- Sunflowers (especially for Kansas crafters!)
Florist tip: “Botanical motifs let people keep a little bit of summer all year,” explains Camila Ross, lead designer at Boston’s Thread&Bloom studio.
Essential Materials for Botanical Embroidery
Basic Supplies Checklist
- Embroidery hoop ($3-8 USD): 6-8″ wood or plastic for most designs
- Cotton or linen fabric: White or unbleached shows colors best
- Embroidery floss: DMC, Cosmo, or Sublime Stitching brands offer 500+ colors
- Embroidery needles: #5-#9, sharps or crewel type
- Scissors: Sharp, small pair
- Pattern transfer tools: Heat-erase pen (Pilot Frixion), carbon transfer paper, or water-soluble marker
Optional Upgrades
- Thread organizers: Bobbins and boxes for managing floss
- Lighting: Daylight Slimline Lamp or LED ring for late-night sessions
- Pre-printed kits: Etsy shops like Namaste Embroidery or US-based Kiriki Press sell ready-to-stitch sets ($15-40 USD)
Sourcing Patterns: Free, Paid, and DIY
When it comes to patterns, options abound:
| Pattern Source | Cost (USD) | Example | Best For |
|---|---|---|---|
| Free online downloads | $0 | DMC, Pinterest | Beginners, quick projects |
| Etsy designers | $3-$12 | NamasteEmbroidery | Unique, detailed florals |
| Books | $10-$30 | “Embroidered Garden” by Kazuko Aoki | Comprehensive guides |
| Custom drawing | $0 | Your sketchbook | Personalization, creative freedom |
Pro tip: Always check if your pattern is sized for your hoop or resize it using a copier app before printing.
Step-by-Step: Stitching a Simple Wildflower Bouquet
1. Choosing and Transferring Your Pattern
Print or trace a wildflower motif (such as a trio of coneflowers and sprigs of foliage). Use a water-soluble marker or carbon transfer paper to transfer the design. Place your fabric in the hoop and tighten.
2. Threading Your Needle
Cut a strand of floss about 18 inches long. Split into 2-3 threads for delicate petals, or use all six for bold outlines. Thread a #7 needle–handy tip: wetting the thread end can help!
3. Stitch Types
For a classic botanical look, these stitches get you far:
- Backstitch: Outlines stems and leaves neatly.
- Satin stitch: Fills petals or leaf shapes smoothly.
- French knot: Adds dimension for flower centers and buds.
- Lazy daisy: Ideal for petal shapes.
“Don’t worry about perfection. Flowers in nature are a little off-kilter. That’s what makes them beautiful!”
– Lena Xiu, textile artist, Seattle
4. Layering Colors and Textures
Mix light and dark greens for stems. For petals, use complementary shades (try DMC 971 and 972 for marigolds). Layer stitches for overlapping flowers, stitching those in the background first.
Tip for realism: Small seed stitches scattered in flower centers mimic pollen.
5. Finishing Touches
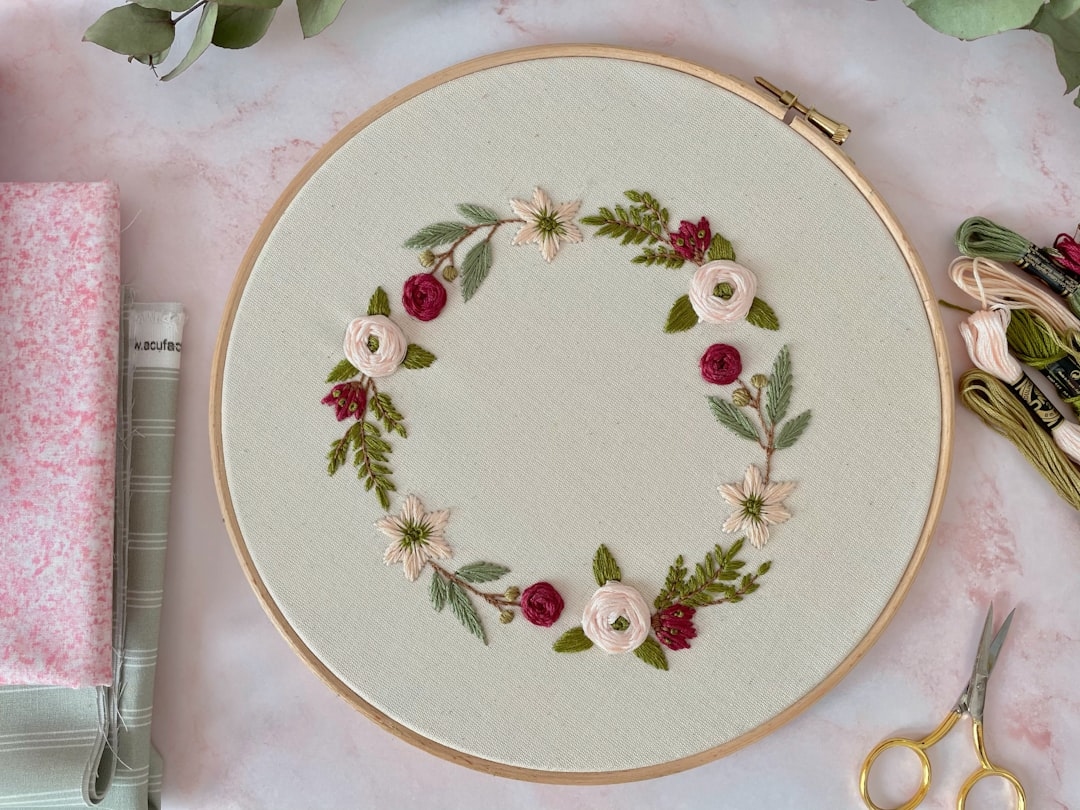
Once complete, tie off threads neatly at the back. Remove the fabric from the hoop, rinse with cold water to eliminate marks, and air dry flat. Re-hoop for display, or stitch onto a tote, pillow, or garment.
Troubleshooting and Pro Tips
Common Issues
- Puckering fabric: Fabric not tight enough in the hoop. Re-tighten or iron before starting.
- Thread tangling: Use shorter thread lengths and run floss over beeswax (available at most craft stores).
- Faded transfer lines: Redraw carefully, but try to stitch over lines as you go.
Expert Fixes
According to Madison Kline, a ten-year embroidery teacher in Chicago, “Nearly 45% of beginners struggle with transferring patterns–try using a lightbox app on your phone under a glass table for easy tracing.”
Displaying and Gifting Your Botanical Embroidery
Finished your project? In 2026, framed hoops and embroidered clothing are trending on #embroiderytiktok and Etsy. Here’s how Americans are sharing their stitched blooms:
Creative Ideas
- Framed wall art: Hoops, float frames, or shadow boxes (Michaels sells shadow boxes starting at $8).
- Gift wraps: Custom patches and hand-stitched cards for birthdays or weddings.
- Fashion: Upgrade thrifted jean jackets, hats, or canvas sneakers with stitched sunflowers or violets.
Care Tips
Embroidered items will fade less if kept out of direct sunlight and spot-cleaned with cold water. For wearables, turn inside out before washing and use a mesh bag.
Botanical Embroidery Patterns Step-by-Step: FAQ
How do I choose the best fabric for botanical embroidery?
Cotton and linen fabrics are most popular in the US due to their even weave and durability. Look for Kona cotton or Robert Kaufman linen blends. Quilting cotton is widely available at Joann Fabrics and runs about $7-11 per yard.
What stitches should beginners learn first for flower patterns?
Learn these stitches first: backstitch, satin stitch, French knot, and lazy daisy. These cover almost all basic botanical motifs, from simple stems to textured petals.
Can I make my own botanical embroidery pattern?
Absolutely. Many crafters sketch simple outlines of favorite flowers, then trace onto fabric. There are also free apps like Adobe Fresco or Procreate Pocket for digital sketching.
Where can I find ready-made botanical embroidery kits in the US?
Try independent designers on Etsy, like Namaste Embroidery or Kiriki Press. Big-box craft stores like Michaels and Joann’s carry pre-printed floral kits ranging from $10-35 USD.
How long does a typical small floral embroidery project take?
A 4-inch hoop with a simple wildflower pattern typically takes 3-6 hours for beginners, depending on detail and stitch speed.
Want to up your botanical embroidery game? Try mixing real pressed flowers into your hoop displays or join a virtual US embroidery group–online communities like the “Floral Stitch Society” on Facebook offer stitch-alongs, pattern swaps, and plenty of encouragement. Your stitched garden is just beginning to grow.