Contents:
- How to Make Pressed Flower Greeting Cards (Summary)
- Essential Supplies for Pressed Flower Cards
- Materials List
- Step 1: Selecting and Prepping Flowers
- Pro Tip
- Prepping Steps
- Step 2: Pressing Techniques
- Book Method
- Flower Press
- Microwave Method (for the impatient)
- Drying Times
- Step 3: Designing Your Floral Card
- Layout Ideas
- Planning the Layout
- Step 4: Adhering Pressed Flowers to Cards
- Which Adhesive Is Best?
- Step 5: Finishing Touches
- Writing Your Message
- Optional Extras
- Caring For and Mailing Pressed Flower Cards
- Creative Ideas and Inspiration
- FAQ: Pressed Flower Greeting Cards
- How do you keep pressed flowers from turning brown on greeting cards?
- What kind of glue works best for attaching pressed flowers to cards?
- Can you press flowers in the microwave for greeting cards?
- How long do pressed flower cards last?
- Where can I buy pressed flower cards in the US?
Pressed Flower Greeting Cards Step-by-Step
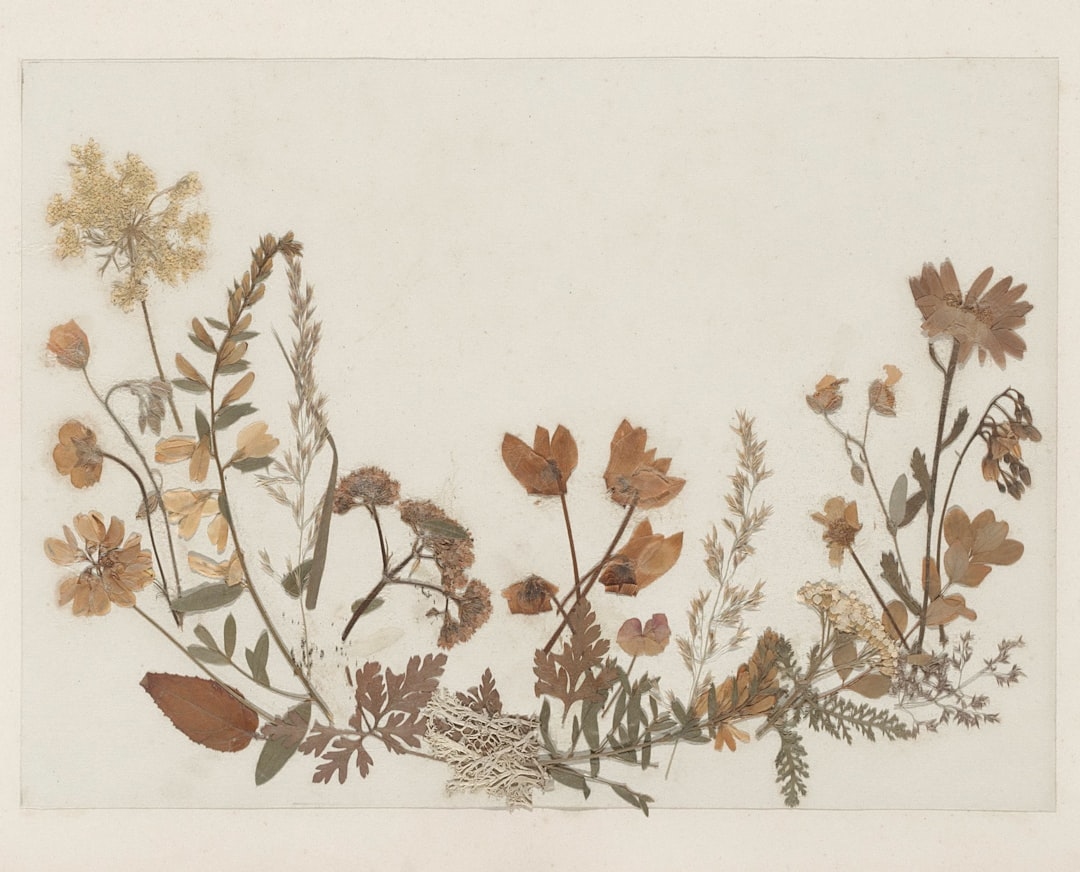
A single pressed pansy can outlast a bouquet. Imagine sending a birthday card that’s not just a message, but a miniature work of natural art–petals, leaves, and color, preserved in time. Pressed flower greeting cards have quietly become a creative favorite, popping up in independent gift shops, trending on TikTok’s #floralcraft scene (over 12.7 million posts in 2026), and even making appearances in boutiques from Brooklyn to Portland. Making your own isn’t just easy–it’s a chance to blend personal memories with the timeless beauty of flowers.
How to Make Pressed Flower Greeting Cards (Summary)
To create a pressed flower card:
- Gather flowers and greenery (choose flat, non-fleshy blooms for best results).
- Press flowers between absorbent paper using a heavy book or a flower press for 1-3 weeks.
- Arrange the dried, flattened flowers on sturdy blank cards.
- Adhere them with acid-free glue or double-sided tape.
- Let dry, then write your message and send!
Here’s the process, step by step, with expert tips and creative ideas to elevate every card you make.
Essential Supplies for Pressed Flower Cards
Quality ingredients make all the difference–just like in baking. Here’s what you’ll need (and why each matters):
Materials List
- Fresh flowers and foliage: Pansies, violets, ferns, baby’s breath, Queen Anne’s lace, mini daisies, and rose petals are top choices for their colorfastness and ability to flatten well.
- Absorbent paper: White parchment paper or plain coffee filters work best. Avoid papers with texture or print that might transfer to petals.
- Heavy books or a flower press: A stack of phone books works, but a wooden screw-down press (like the Microfleur or Herbarium model, $25-$35 on Amazon in 2026) gives more even results.
- Acid-free glue or tape: Lineco Neutral pH Adhesive and Scotch Permanent Double-Sided Tape are popular picks.
- Blank greeting cards: 5×7” or A6 acid-free card stock blanks (Canson, Strathmore, or Paper Source, typically $8-$12 for a pack of 10).
- Tweezers: For delicate placement.
- Wax paper or silicone sheets: Optional, to prevent sticking.
“Pressing flowers is about patience and detail. The right materials help preserve color and prevent browning,” says Emily Tran, owner of Fleurish Press in Seattle.
Step 1: Selecting and Prepping Flowers
Not all blooms are equal when it comes to pressing.
Best flowers for pressing:
- Pansies, violas, forget-me-nots, and larkspur: Hold vibrant color and flatten easily.
- Fern fronds, clover, and maidenhair: Add texture and variety.
- Baby’s breath and Queen Anne’s lace: Perfect for airy accents.
Avoid these:
- Succulents, thick rosebuds, and flowers with high water content (like tulips): Tend to brown or go moldy.
Pro Tip
Pick blooms after a few dry days, ideally mid-morning when dew has evaporated. Gently blot if needed.
Prepping Steps
- Trim stems to just below the blossom or leaf.
- Remove bulky petals or sepals. Split thicker flowers in half.
- Clean debris with a soft brush or lightly damp cloth. Let dry before pressing.
Step 2: Pressing Techniques
You’ve picked your flowers–now the magic happens.
Book Method
- Open a heavy, clean book. Line pages with parchment.
- Lay flowers flat, spaced at least 1/2 inch apart.
- Cover with another sheet of parchment; close book.
- Stack more books on top for extra weight.
Flower Press
- Arrange flowers between layers of absorbent sheets in the press.
- Tighten screws until snug.
- Store in a dry place.
Microwave Method (for the impatient)
Special presses like the Microfleur allow quick drying in 30-60 seconds–invaluable for last-minute cards. “Just keep an eye out: overheating can brown petals,” warns Julia Lin, horticulturist at The American Botanical Society.
Drying Times
| Method | Typical Drying Time |
|---|---|
| Book | 1-3 weeks |
| Flower Press | 7-14 days |
| Microwave | Under 2 minutes |
Pressing tip: Check after a week. If petals feel papery (not cold/damp), they’re ready.
Step 3: Designing Your Floral Card
Arranging pressed flowers on a blank card is as much art as science.
Layout Ideas
- Symmetrical designs: Frame the card edges or create a wreath.
- Wildflower scatter: Random, organic placement for a meadow look.
- Monogram or shape: Use blooms to form initials or simple outlines (hearts, butterflies).
“My best-sellers always have a bit of white space–less is more when the flowers are this gorgeous.” – Rachel Gomez, floral card artist, Chicago.
Planning the Layout
- Arrange flowers on the card before gluing.
- Use tweezers to reposition delicate pieces.
- Snap a quick phone photo for reference once you like the layout.
Step 4: Adhering Pressed Flowers to Cards
Delicate petals require a gentle touch.
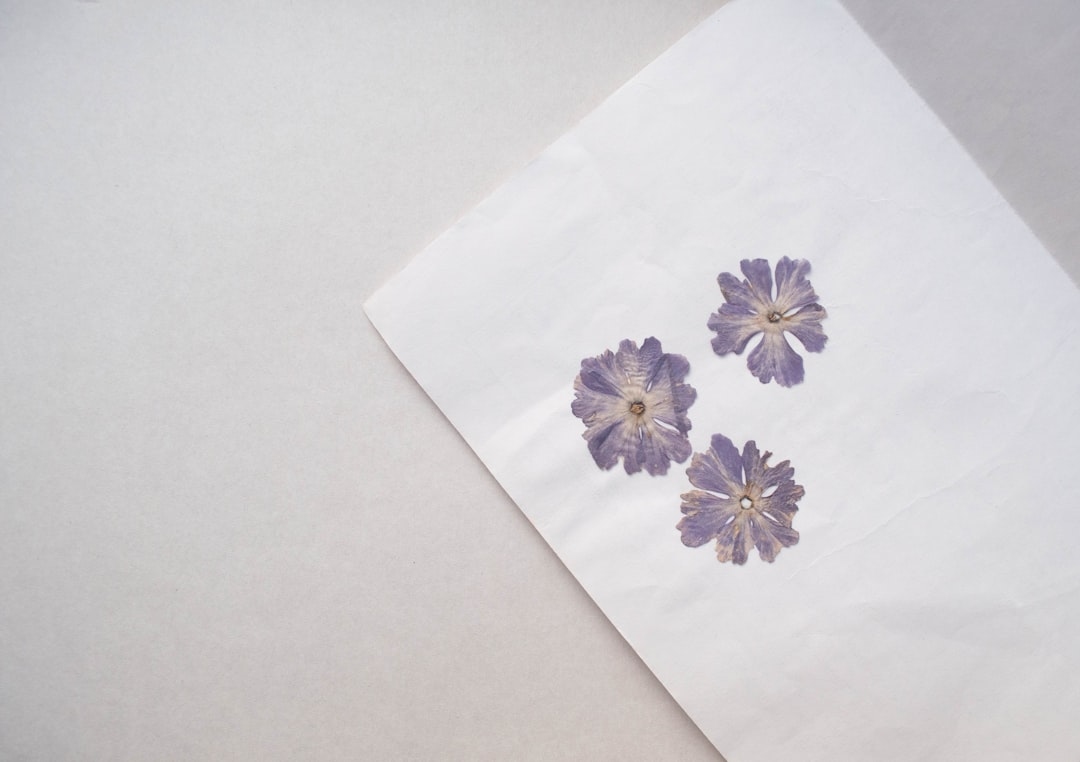
- Apply glue sparingly with a toothpick or small paintbrush to the back of each flower or leaf.
- Press gently onto the card. Hold in place for 5-10 seconds.
- Cover with wax paper and press with a book for 1-2 hours as it dries.
Alternately, double-sided tape works for firmer flowers and faster assembly, but provides less flexibility for delicate or curved petals.
Which Adhesive Is Best?
| Adhesive Type | Pros | Cons |
|---|---|---|
| Acid-free glue | Long-lasting, invisible | Can cause wrinkling if overused |
| Double-sided tape | Quick, clean, reposition | May not hold thick pieces |
| Mod Podge (matte) | Seals as it glues | Can cause clouding or shine |
Step 5: Finishing Touches
Writing Your Message
Choose fine-tip pens (Micron archival ink or Uni-ball Signo) to avoid bleeding on card stock. Write your message after gluing and drying flowers.
Optional Extras
- Add a layer of clear-drying sealant (Krylon Preserve It! or Mod Podge Matte) for cards you intend to keep as keepsakes–test first to see how it affects color.
- For mailing, insert cards in rigid mailers ($7/pack from ULINE or USPS).
- Want a 3D look? Use foam adhesive dots under leaves for subtle lift.
Caring For and Mailing Pressed Flower Cards
Pressed flower cards are fragile but surprisingly durable with a little care.
- Store finished cards out of direct sunlight to avoid fading.
- Always use a protective sleeve or envelope for mailing.
- For extra protection, tuck a piece of waxed paper on top of the flowers before placing in a rigid mailer.
- USPS first-class postage rates (2026) for a standard 5×7 card in a rigid mailer: approximately $1.32.
Creative Ideas and Inspiration
The beauty of pressed flower greeting cards is their versatility:
- Birthday and Mother’s Day cards: Personalize with the recipient’s favorite flower.
- Wedding invitations or thank-yous: Incorporate petals from the actual bouquet.
- Seasonal greetings: Use autumn leaves, holly berries, or spring violets.
- Mini framed art: Mount finished cards in 5×7” frames for lasting keepsakes.
“Handmade pressed flower cards sell for $7-$14 each on Etsy in 2026–proof that people cherish the personal, botanical touch,” notes US florist and Etsy seller Dana Harris.
FAQ: Pressed Flower Greeting Cards
How do you keep pressed flowers from turning brown on greeting cards?
Use flowers harvested in dry weather, press them promptly, and use acid-free materials. Avoid excess moisture and humidity during drying. A layer of clear acrylic spray can help preserve color once glued, according to Julia Lin, horticulturist.
What kind of glue works best for attaching pressed flowers to cards?
Acid-free, archival-quality glues like Lineco Neutral pH or Elmer’s Craft Bond are ideal. They’re less likely to yellow over time or damage delicate petals.
Can you press flowers in the microwave for greeting cards?
Yes! Microwave flower presses like the Microfleur allow you to press and dry flowers in under two minutes. Always watch closely to prevent overheating or scorching.
How long do pressed flower cards last?
With proper care (stored away from direct sun and moisture), pressed flower cards often keep their color and structure for 2-5 years, sometimes longer.
Where can I buy pressed flower cards in the US?
Handmade pressed flower cards are available on Etsy, at craft fairs, and through boutique florists like Fleurish Press (Seattle) and Petal & Pine (Denver).
Pressed flower greeting cards are more than a craft–they’re a connection across seasons and miles. Make one today, send it to a friend, and see the delight for yourself. Or press extra blooms from your next farmer’s market bouquet and build a stash for the year ahead. The best time to start is right after you spot your next beautiful flower.